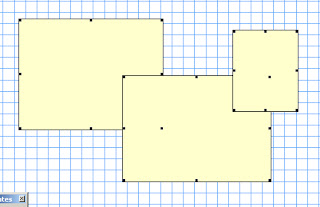
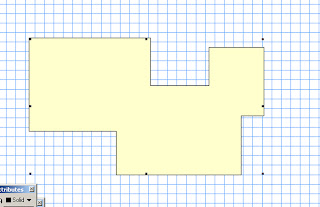
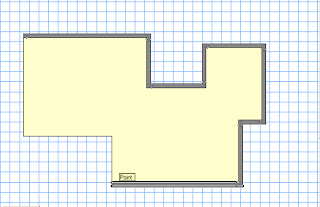
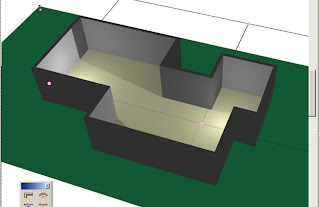
- Drawing the Floor Area: It is often useful to draw the floor first and then use this as a guide around which to construct the walls. This is especially useful when modeling one room for visualisation. You may have done a site survey and have all of the internal measurements, in this case it is easier to construct an accurate 2D shape for the floor rather than straight away trying to determine the individual lengths of multiple walls.


The Image above shows a floor area made by adding together several rectangles using Modify > Add Surface.
General Tips!
- When drawing walls around the Floorplan template make sure that you use the appropriate wall drawing mode from the mode bar. You do not want to have your walls sitting inside the floor area if you have spent time constructing it accurately!
- The Floor shapes that you construct can often simply be duplicated and moved up to act as your ceiling object as well!
Advanced Floor Creation:
Vectorworks has even more advanced commands which can be used for quick and easy construction of walls and floors. They are located in the AEC>Architectural menu, found in the Standard Workspace (Tools > Workspaces > Standard Workspace).
- The Create Polys from Walls command can be used to create flooring and ceilings from multiple walls. Select all of the walls that form contained spaces and access the command (Note that you must select wall objects only for the command to work). Select either Gross or net (room) Polys and see the results.
The Create Walls from Polys Tool takes a polygon and constructs walls around it. The polygon can include curved edges but the program may have trouble with excessively complex shapes. The curved part of the polygon will produce curved walls made up of many individual straight walls. This is different to the curved wall tool which is made of a single wall. This means that it is trickier to position symbols into the wall where desired.